1、在云数据库中创建一个 user 表

2、编写云函数并且操作云数据库,在 Hbuilder X中新增的 testAdd 云函数添加代码
'use strict';
const db = uniCloud.database();
// 获取 `user` 集合的引用
const user = db.collection('user');
exports.main = async (event, context) => {
//返回数据给客户端
let res = await user.add({name: '张三'});
return res;
};
3、上传云函数并运行:
13:52:52.693 [云端运行:阿里云:test]云函数testAdd上传完成,开始运行...
13:53:13.965 [云端运行:阿里云:test]运行状态:成功
13:53:13.965 [云端运行:阿里云:test]返回结果:{"id":"60f7b63883c458000178c267"}
13:53:13.965 [云端运行:阿里云:test]运行日志:
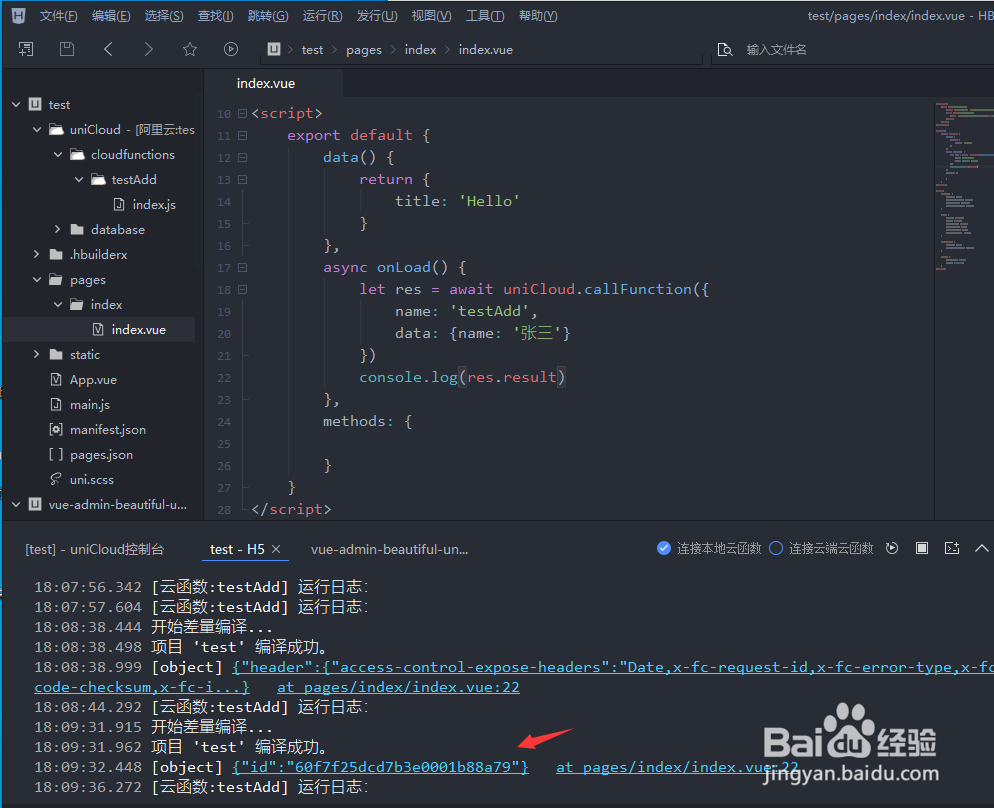
4、代码中使用
let res = await uniCloud.callFunction({
name: 'testAdd',
data: {name: '张三'}
})
5、如下图我在 onload 方法中执行云函数,插入成功会返回id